Saturday, February 15, 2014

Strawberry Cream Cheese Filled mini rolls

I believe I can now make my basic sweet bread rolls without looking at my recipe. I now uses the Tangzhong Starter making all my bread rolls (makes the bread really light and soft).

I wanted to give the filling just a light pink to give a little contrast and highlight to the rolls so I made the cream cheese filling with a hint of strawberry jam.  


Here is the recipe:

1) 1/2 cup of warm water
2) 1/2 cup of flour
3) 1 Tbs of yeast

4) 4 cup flour
5) 1/2 warm water
6) 4 Tbs oil
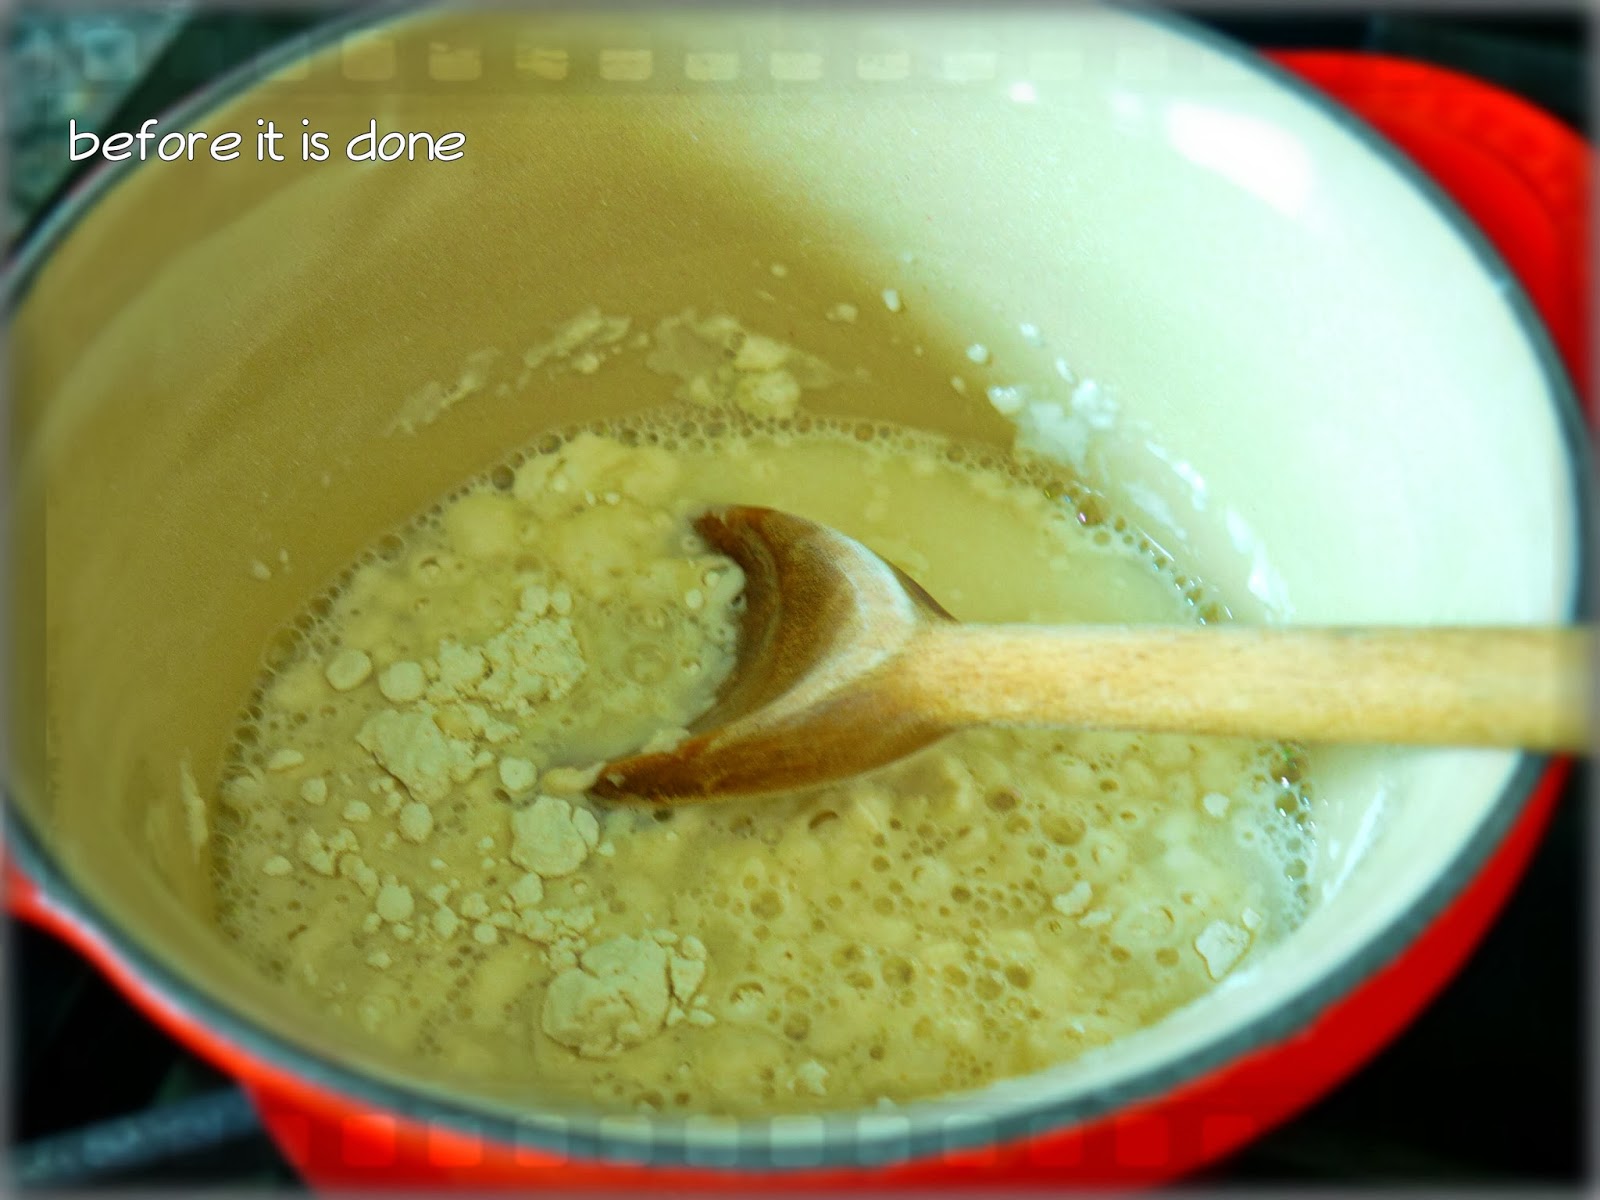
7) 1 Tangzhong Starter  - 

In the mixer, mix ingredients 1,2 and 3, let mixture rest for  minutes. (mixture will be foamy).
Add all Tangzhong dough to mixer mixture.
Add 1 cup of flour initially, mix well.
Add oil, mix well
Gradually, add and mix in rest flour.
Mix well.

Transfer dough to dry big bowl, let dough rest for 1 to 2 hours in dry warm area. Dough should be double in size.
Punch down dough.
Cut dough into 4 pieces.

a. Working with each quarter, cut dough into 2.
b. Roll out dough on flat surface into long rectangle.
c. Spread a thin layer of cream cheese on dough.
d. Roll dough to long strip. Cut into 6 pieces.
e. Place each piece on muffin pan. ... repeat b through d.
f. Repeat from (a) on the next quarter of dough.

Cream Cheese Fillings:
4 oz cream cheese
2 1/2 Tbs corn flour
6 Tbs sugar
1 tsp vanilla
2 Tbs of Strawberry or Cherry Jam ( for pink color )

1. In a mixer, mix all the cream cheesse filling ingredients except the jam for about 10 mins until well blended.
2. Scoop to air-tight container, now add 1 Tbs jam at a time and stir well to blend. (depending on how light and dart you want the pink color on the cream cheese, adjust jam amount to mixture accordingly, you can either add more or less).
3. Store cream cheese mixture container in fridge until ready to use.

Mini Blueberry Tart on graham cracker crust

This Saturday was a wet, windy and snowy day. I didn't want to do anything outside my cozy home, so baking goodies for tomorrow morning's worship service was a perfect fit.

I was given a tub of homemade blueberry jam from last Sunday's chili cook off dessert tray that would go well with some type of fruit tart recipe. I found one that seemed just right. It wasn't easy to prepare but the graham cracker pie crust recipe was a great choice. ( I also had some left over graham crackers. It is good to conserve your leftover ingredients from past dishes. I can always find a home for them!)

It was now that I prepared my kitchen for another round of healthy baking. Low fat and low sugar are mostly baked in my treats, which is my signature style. (or one of them). I started up my trusted Kitchen Aid batter mixer and pulled out my full sized rolling pin and baking pan. I am ready to go, so let's begin !

I made the tart crust with a twist; the recipe I used was a combination of regular pie crust and graham cracker pie crust. It will be interesting to find out if this will be thumbs up or down!!


Here is my recipe:

2 cups flour
1/2 cup plus 3 Tbs oil
4 Tbs of water
1 graham cracker pie crust ( broken in pieces )

In a mixer, combine flour and broken pieces of graham cracker crust. Mix well on low speed.
Add in oil, and mix well until it is well incorporated.
Add water 1 Tbsp at a time, mix well.
Let the pie dough sit for just a few minutes.

In a flat surface lightly flour the surface using a rolling pin. Then roll out a small portion of the pie dough to 1/8 inch thickness.
Cut the individual circles in 2 1/2 inch diameter  tarts.
Place tart on mini muffin pan.
I made 48 mini tarts.
Now cut out as many as you can, miniature flower shaped cookies (wished I had heart shapes since we are still in the Valentine's spirit).

Preheat oven at 350 degree. Bake tarts for 8-10 minutes.

Let tarts cool.
Now, spoon 1/2 tsp bluebery jam on each tart.
Top each tart with a flower cookie ( or two cookies if you prefer ).

Enjoy!
Light tasty treats :)

.

Sunday, February 9, 2014

Shredded Chicken Chili Slow Cook

This was big pot of dish since I have to bring this to our church for our annual Chili Cook Off. I chose this recipe from here, a very healthy version of chili. I used chicken breast (99% fat free), how lean can this get :) ) without loosing the savory taste. I cooked my beans myself using dry black beans and dried kidney beans.

I changed up a little on the recipe ( as usual .. touch of Joanne's ).


Here is my recipe:

1 cup corn (this I used from a can )
6 oz tomato paste  ( I guess this is optional )
2 can of 28 oz Diced Tomato
1 cup of black beans
1 cup of kidney beans
1 medium onions (chopped)
1/2 red pepper (chopped)
1 cup water
2 Tbs worshershire sauce
2 Tbs brown sugar
1/2 Tbs korean chili powder ( this is very very hot, I dare you to use 1 Tbs )
1 Tbs cumion
2 lbs of chicken breast ( whole, don't cut them, they will be shredded later) ( about 3 pieces )

Put all ingredients in slow cooker and cook on high for 4 to5 hours.
Give a stir after each 2 hours.
Take out chicken one piece at a time, shred chicken with fork and knife and put torn chicken back to slow cooker.

Cook for another 1 hour.
Chili is ready to serve after 6 hours or more.
Keep slow cook on low if not ready eat.
Serve warm. (recipe can be cut to half )

Reheat next day on leftovers, tastes even better over night.

Thursday, February 6, 2014

Red Chilli Mache

I was looking for crafty ideas for our church Chilli Cook Off for this Sunday... and

I found this chili pepper pom DIY. So I quickly dug in my wrapping paper bin looking for red tissue paper and I was lucky to find just enough materials ...to make 2 Red Chilli maches.

Here is what I used:

4 sheets of Red tissue paper.
1 sheet of Green tissue paper (used and wrinkled .. oh well but it worked for what I needed )
red ribbons for tying together.

Cut 4 sheets of Green paper measuring 3inch squares
Cut 2 sets of 4 sheets of Red paper measuring 4 inch squares
Cut 3 to 4 sets of 4 sheets of Red paper measuring 5 1/2 inch squares
Cut 1 set of 4 sheets of Red paper measuing 6 inch squares.


Fold one set at a time (working from the bottom up.
Start with the smallest set of Red, separate the 4 sheets out.
Bring and gather each sheet in accordion like fashion, give a little pinch/squeeze in middle.
Tie together all 4 sheets with ribbon. (ensure ribbon leaves a 2 inch tail for typing together)
Work the next set, until all sets are done.
Now tie first and second together but 1 inch apart.
Tie 2nd and 3rd together, again 1 inch apart.


Now, you should get this when complete.


Sunday, February 2, 2014

Go Bananas Strudel Bread

I had so many ripe bananas and I didn't want them to go to waste. So, I baked these banana strudel breads loaded with bananas.. they are so so soft light bread. They are sort of the 'banana fritters' without the deep fried. I so I replaced deep frying  (where ever possible) and these came out pretty close. These strudel breads stay soft for days and also freezes well. These are so good, there is not much for leftovers to be freezed :) ... if you have friends or company share them.


Tangzhong Starter: see recipe here

Dough:
A:
1/2 warm water
1 tbs yeast
1/2 cup flour

B:
6 cup flour
1 egg
5 Tbs vegetable oil
4 ripe bananas plus 8 bananas as fillings (fillings is optional, without the fillings, it is a Banana Bread not a strudel though)
1/4 cup sugar

In a mixer bowl, stir yeast and water and flour, let mixture stand and proof for 5 mins, should be foamy.

Add to mixer,  egg + sugar + oil, mix well on slow speed.
Add in mixture A to mixer bowl, gradually add flour. ( use 2 to 3 cups )
Add in one banana at a time.
Mix in Tangzhong Starter.
Mix in rest of the flour gradually.
Total mixing should be around 15 mins.

Fold in dough a few times into a smooth ball.
Cover dough with towel and let dough stands in a dry warm place until dough double in size (at least hour ++).
Punch down dough. Divide dough into desired sizes.
I roll out each dough and fill dough with long length slices of banana and enclose the dough so banana is not exposed.
Form each size dough to preferred shapes.
For a golden glossy bread, brush top of each roll with egg wash and sprinkle with a little sugar (optional)
Let prepared dough stands for another 30 mins or more.

Bake in heat up oven at 350 degree for 18 to 20 mins. (if they are in small rolls)
I made 2 large pan of bread, thus I baked them for 30 mins.

Tangzhong Starter

Tangzhong Starter:
1 cup water
1/3 cup flour

In a small pot, heat together water and flour, stirring constantly with a wooden laddle till mixture incorporates and thicken.
Turn off heat, let starter cool to just warm to the touch or cool completely.
Starter can be stored in refrigerator for later use.

This starter is so easy to make, I usually make the starter right before I am ready to make my bread dough, that way starter is still slightly warm when I am ready to use it.
This process should take betwrrn 3 to 5 mins.


Saturday, February 1, 2014

Pizzelle Rice Cookies

I like to make believe these cookies are Kuih Kapit as these are made of rice flour. Obviously I have chosen to use all the Kuih Kapit ingredients. Though, I am using the Pizzelle Electric maker and thus, I am limited to being able to make the cookie as thin as the authentic kuih kapit and the cookie shapes are not as pretty. ( Perhaps, I need more practice on making them ).

Nevertheless, I accomplished my mission of giving this cookie making a try, after all I bought this pizzelle maker awhile ago. Glad that though these cookies are not as nice looking as I wanted them to be.. I managed to bake a good bunch of edible and tasty cookies :)

I hope the next time I make these cookies, I can make nicer looking cookie shapes... need to improve on the art and technic :)


Gong Xi Gong Xi to all :)


Here is the recipe.

Ingredients:
2 cup rice flour
1 Tbs tapioca starch
3/4 cup fine granulated sugar
1 can/400 ml Coconut Cream
4 whole large eggs
1 tbsp margarine.

Directions:
Mix eggs and sugar till sugar is dissolved.
Add coconut milk to the mixture, continue to stir and mix well.
Add all the flour to the mixture and mix well.

1. Wipe the pizzelle maker moulds with damp oil to completely grease the moulds.
2. Heat up pizzelle maker. Wait pizzelle maker is hot to the touch on the mould.
3. Drop 1 1/2 Tbsp of dough mixture to the bottom-side of mould, slight spread dough in circular motion to thin and spread out the mould.
4. Cover pizzelle lid.
5. After 20 secs, clamp the handle of pizzelle.
6. Cookie should be ready in total of 2 to 2:30 mins. (depending on how brown you want the cookie to be cooked)
7. Pick up cookie using a kebab wood stick or bare finger. Should be pretty easy to pick up cookie.
8. Lay flat or roll or fold to desire shape as soon as cookie is out of pizzelle maker.
9. Repeat step 3-8 on the next cookie.

Cool cookie and store in air-tight container.